Product Photos for Affiliate Reviews: A Phone Workflow
Your review says a gadget is compact. The reader wants to know whether it blocks the neighboring socket. Another polished front view will not answer that.
Useful product photos for affiliate reviews start with buyer questions, then show the relevant detail in focus. Use the phone you already own, a stable support, and soft light. Photograph fit, operation, and limitations before worrying about a perfect background.
This workflow is for bloggers reviewing physical products they can actually access. It does not require a studio, and it does not turn a photograph into proof of performance. A clear image can show a crowded connector; it cannot establish charging speed or long-term reliability.
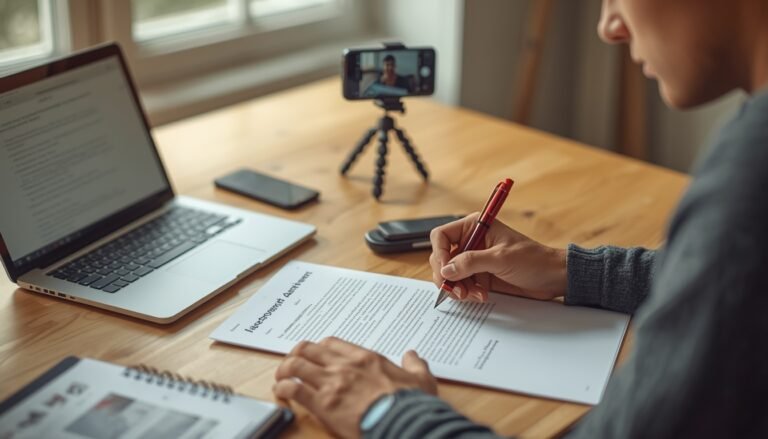
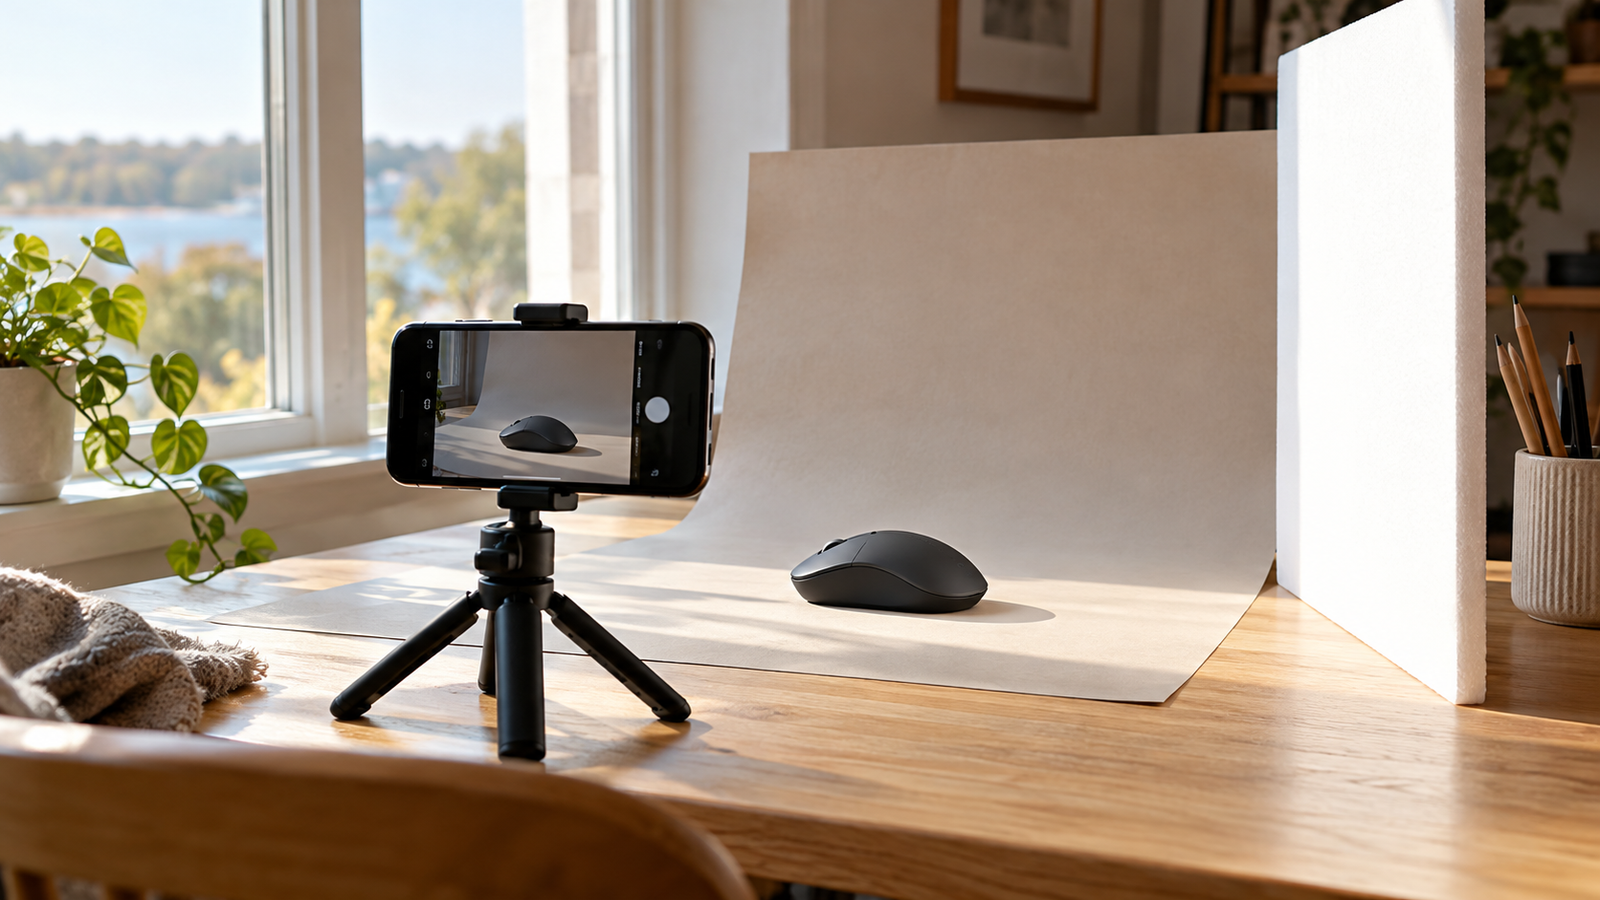
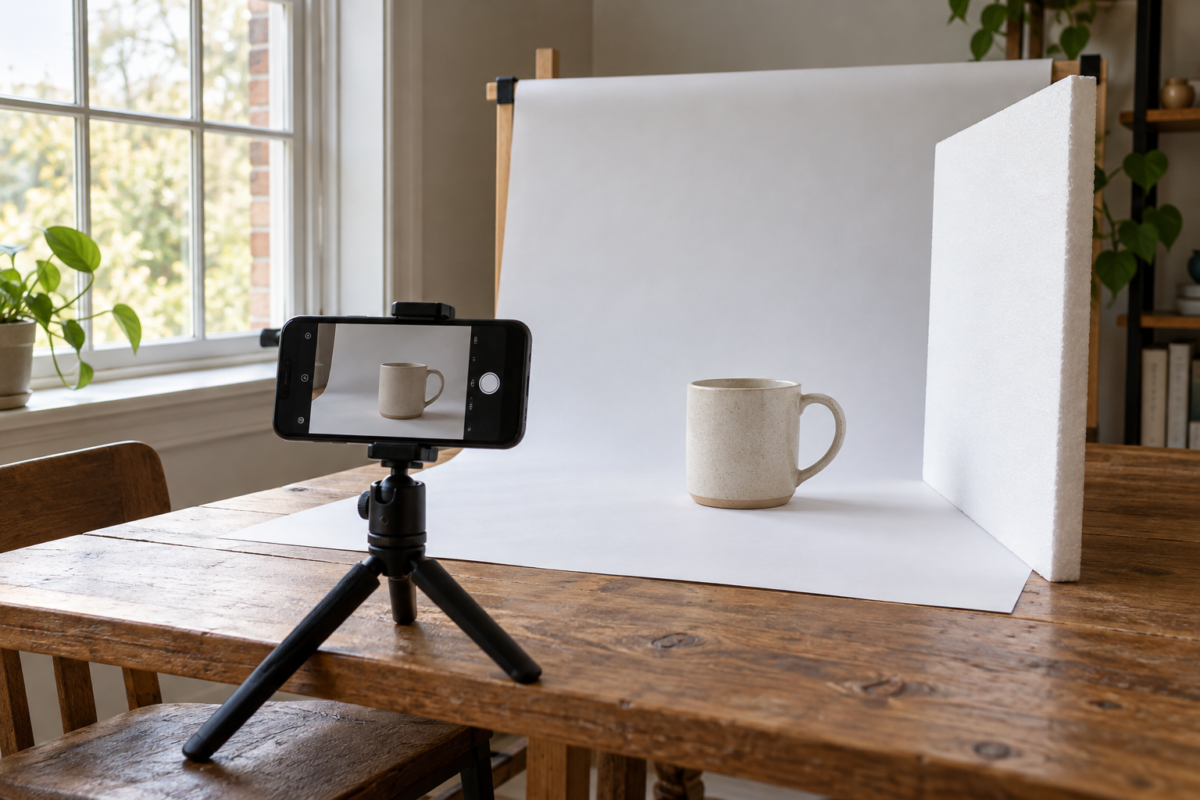
Illustration note: The images in this guide are AI-generated examples of photography setups and editorial workflows. They do not depict products tested by MakeMoneyQ.
Table of Contents
Plan product photos for affiliate reviews around decisions
Before setting up the camera, write three questions a buyer might ask. For a desk accessory, those could be: Will it fit my space? Can I reach the controls? What becomes awkward during use?
Turn each question into an image assignment. “Show the cable bend behind the stand” is actionable. “Take a professional photo” is vague.
Keep an evidence note beside the assignment: what the picture shows, what you personally checked, and what remains unknown. This prevents a useful illustration from acquiring an exaggerated caption later.
Google’s review guidance recommends evidence of experience and attention to meaningful decision factors. Original photos can support that approach, but their presence does not guarantee rankings. An ownership photo also does not prove that someone performed a thorough test.
If you are still choosing a publishing model, the affiliate marketing beginner guide explains how useful recommendations fit the broader business.
Build a repeatable tabletop setup
Choose a firm table beside a window. Start with daylight coming from one side, rather than directly behind the product. Turn off nearby lamps if they create a conflicting color cast.
Use a plain sheet of card, an uncluttered desk, or another neutral surface. A white background is convenient, but an editorial review can also show the product in its actual environment.
Make one adjustment at a time
If shadows hide a control, position white card opposite the window to return some light. Move it closer for a stronger effect, then check whether the extra light makes the object look flat.
If sunlight creates bright patches, wait for softer conditions or diffuse the window light. For shiny objects, change the angle of the product or camera until the reflection stops covering the important detail. A reflector will not solve every glare problem.
Mark the phone and product positions with removable tape. Take a quick setup photo for your own records. Repeating the arrangement matters when you return later to photograph a competing model.
The Shopify product photography guide provides a practical reference for backgrounds, lighting, and reflectors. Adapt its catalog-oriented advice to the question your review needs to answer.
Set the phone for clear, honest detail
Clean the lens first. Check the preview for fingerprints, reflections, and clutter before changing camera settings.
- Start with the main rear camera: compare other lenses only when you need a different working distance.
- Keep a normal perspective: avoid placing an ultra-wide camera very close to a product when judging shape or size.
- Focus on the decision detail: tap the connector, hinge, or button you want readers to inspect.
- Check exposure: retain texture in bright surfaces instead of making every background pure white.
- Stabilize the phone: use a secure support and a short timer to avoid moving it as you release the shutter.
Focus and exposure locks differ between phones and apps. Use them when available, then recheck after moving the subject. A locked setting is only useful while the scene remains suitable for it.
Avoid portrait-mode blur when it accidentally removes cable edges or thin controls. Take a normal photo as a backup. Inspect the important area at full size before dismantling the setup.
Use a question-to-photo checklist
You do not need the same number of photos for every review. A simple notebook and a complicated docking station raise different questions. Choose the smallest useful set from this checklist.
| Reader question | Photo to capture | What it cannot establish |
|---|---|---|
| What am I getting? | The actual item and included accessories | What every seller or bundle includes |
| Will it fit? | Product beside a ruler or in the intended space | Compatibility with unshown equipment |
| Can I use it comfortably? | Controls and access in the normal position | Comfort for every person |
| What is the catch? | A relevant obstruction or practical limitation | How common the issue is across all units |
| How does it compare? | Alternatives at the same distance and angle | A fair performance comparison without testing |
Example: a crowded USB hub
Suppose your question is whether two bulky connectors fit together. Photograph the exact adapters seated in adjacent ports, if you have safely checked that arrangement. Identify the adapters and hub model in the caption.
A different photo with a plug resting nearby can show the layout, but it does not demonstrate simultaneous fit. Keep that distinction in the wording. Do not convert a staged arrangement into a compatibility claim.
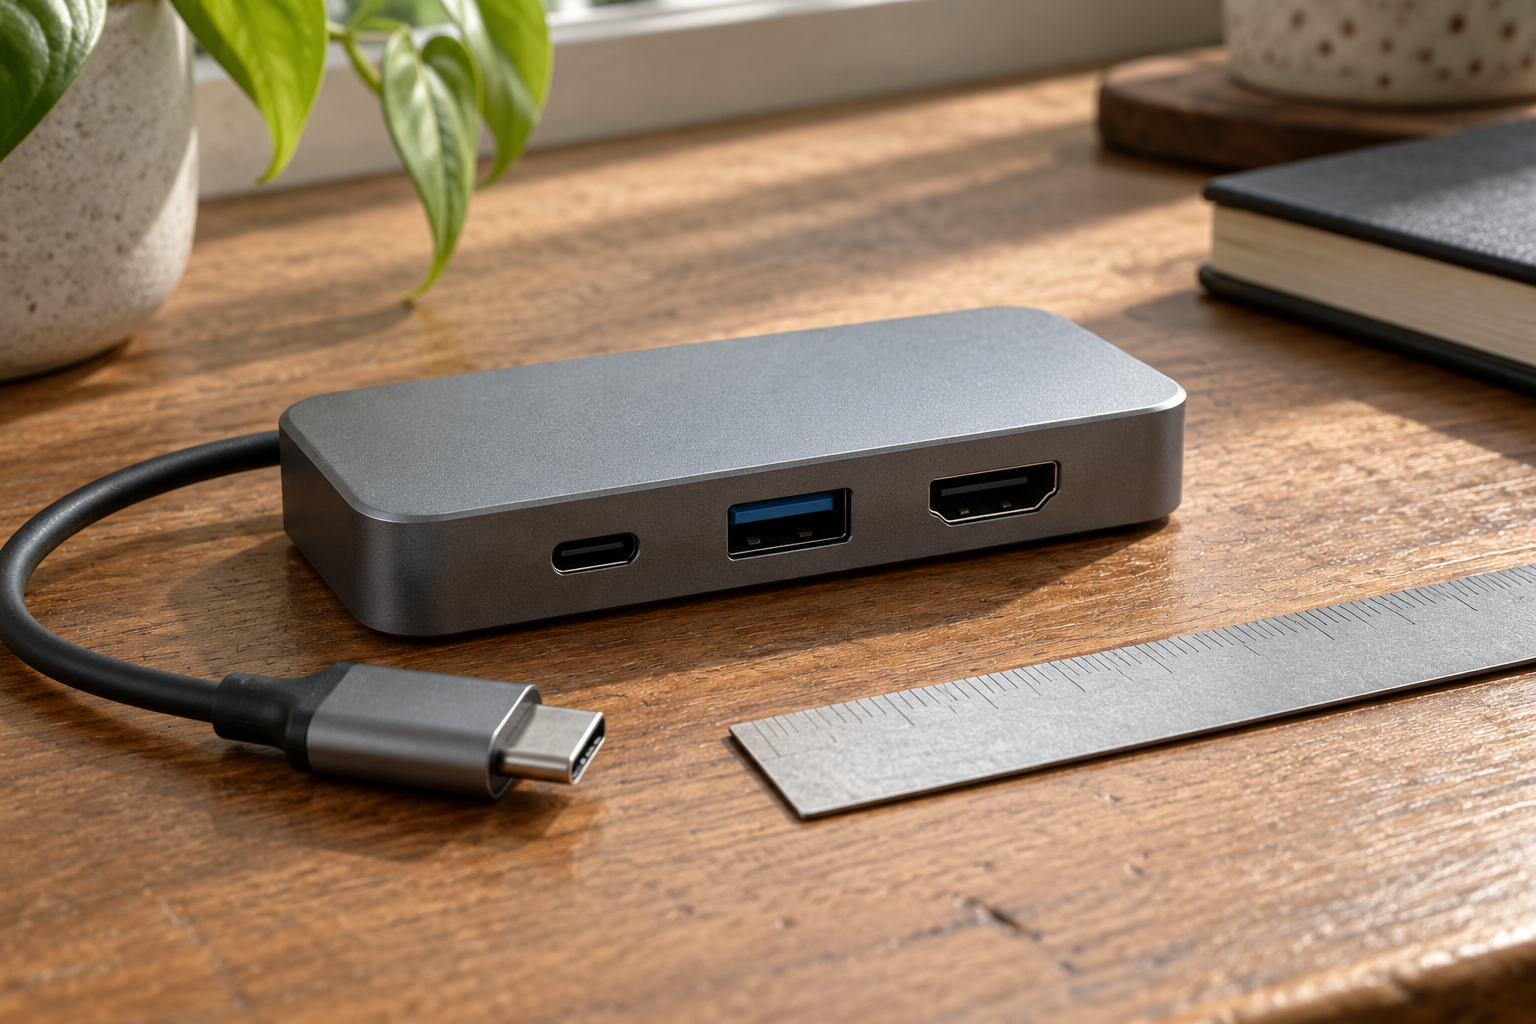
For comparisons, keep the camera position, background, and lighting consistent. If you photograph one item much closer, it may look larger even when it is not. State measurements separately when size is central to the verdict.
Watch the lighting setup in practice
Learn With Shopify’s video demonstrates a home smartphone setup. The lighting section starts around 2:23 and camera angles around 4:30. Those sections help visualize the physical arrangement; phone controls vary, and the later editing demonstration is from 2020.
Buy accessories only for a real bottleneck
Start with card and the equipment you own. These two optional accessories solve specific problems; they are researched options, not products tested for this article.
Affiliate disclosure: This article contains affiliate links, and MakeMoneyQ may earn a commission from qualifying purchases. As an Amazon Associate I earn from qualifying purchases.
JOBY GripTight ONE GP phone stand
A compact phone support suits bloggers who need repeatable tabletop angles while arranging a subject. This listing combines a phone holder with flexible GorillaPod legs.
Check that the holder accommodates your phone with its case. A small tabletop stand is not a substitute for a tall tripod or a properly secured overhead rig. Position the phone over a stable base and check for tipping before releasing it. View the JOBY GripTight ONE GP on Amazon.
NEEWER 43-inch five-in-one reflector
This collapsible reflector suits creators who regularly need a larger bounce surface or diffusion material. The verified listing includes translucent, silver, gold, white, and black surfaces.
For neutral review photos, start with white. Gold can change the apparent warmth of a product. At 43 inches, the reflector may be awkward beside a small desk, and it needs suitable support or someone to hold it. White card is simpler for tiny objects. View the NEEWER reflector on Amazon.
Skip both purchases if your current setup already produces sharp, useful images. Fix the visible problem first.
Edit and publish without changing the evidence
Crop distractions, straighten the frame, and make restrained exposure or color corrections. Compare the result with the object under neutral light. Keep the untouched original.
Do not remove a scratch discussed in your review, invent a screen readout, or generate a missing connector. If an image illustrates a hypothetical setup, label it accordingly. Synthetic images can explain a workflow; they cannot document your own product use.
Disclose relevant commercial relationships clearly. The FTC’s disclosure guidance stresses understandable, conspicuous disclosures and truthful accounts of experience. A disclosure does not make an unsupported claim acceptable.

Prepare a web copy and retain the original
Export a separate version sized for your article layout. JPEG is a practical starting format for photographs; WebP is another option when your WordPress installation supports it. Compare compressed versions visually rather than chasing a fixed file-size target.
Check tiny labels and port edges on a phone screen. If those details disappear, crop closer or provide a separate detail image instead of uploading a huge file that readers still cannot interpret.
Google’s image guidance covers descriptive filenames, contextual placement, and useful alt text. Describe the visible subject and relevant action; do not repeat a keyword list.
Place each picture beside the paragraph it supports. Explain observations in the caption and interpretation in the review. For broader presentation, use MakeMoneyQ’s content and blogging guidance.
Store originals, edited exports, model details, and shoot dates together. Keep another copy in a separate location you can recover from. A folder of unexplained filenames becomes difficult to use when a product changes.
Fix the problem you can actually see
If a photo disappoints, diagnose it before buying another accessory. Zoom into the part the reader needs to inspect, then work through these common failures.
The image is sharp, but the answer is missing
Change the assignment. A beautiful overhead photo of a stand may hide the clearance behind it. Take a side view at desk height, with the relevant cable in place. Include enough surrounding space to make the relationship understandable.
The important detail is too small
Create an overview and a separate close-up. Keep the overview for orientation; put the close-up beside the specific observation. Move closer only while the phone can still focus. If it cannot, step back and crop modestly rather than publishing a blurry frame.
Two comparison photos look inconsistent
Check camera distance, perspective, and light direction before adjusting color. Reshoot both items together when possible. Do not brighten one selectively to make it appear better than its competitor.
Finally, read the caption without looking at the image. If it promises more than the frame shows, narrow the wording. “These connectors fit in this arrangement” is more useful and defensible than “works with everything.” Keep untested combinations in a separate list for future checks.
Make the next review easier
Choose one existing review and identify its least convincing claim. Create a photo assignment that helps a reader assess it, capture the relevant detail, and write a caption limited to what you observed.
Then make that assignment part of your review checklist. Connect the improved page to your affiliate SEO strategy and the wider blog-building plan. Better photography earns its place when it makes the recommendation easier to understand.
Frequently asked questions
Do I need a DSLR for affiliate review photos?
No. Start with a phone and inspect whether it captures the detail readers need. Consider other equipment when close focusing, reflections, or low light consistently prevent a useful result.
How many photos should an affiliate review include?
Use enough to answer the important visual questions. There is no universal minimum. Remove repeated angles and prioritize fit, controls, relevant accessories, and limitations.
Can AI-generated images prove that I tested a product?
No. They can illustrate an idea when labeled, but cannot document hands-on use or performance. Keep genuine test evidence and synthetic illustrations clearly distinguished.
What if I cannot access the product?
Label the article as research-based and explain its sources and limits. Use properly licensed or program-authorized images where permitted. Do not imply you photographed or tested the item.
Is a pure white background required?
Not for an ordinary editorial review. Choose a background that makes the detail clear. Marketplace listing requirements are separate and depend on the platform.
Should every photo contain the focus keyword in its alt text?
No. Write an accurate description of that image in context. Use the keyword only when it naturally describes what readers would otherwise miss.